Craft
ProRes RAW: The Backstory & How to Shoot It in the Field (Part 1)
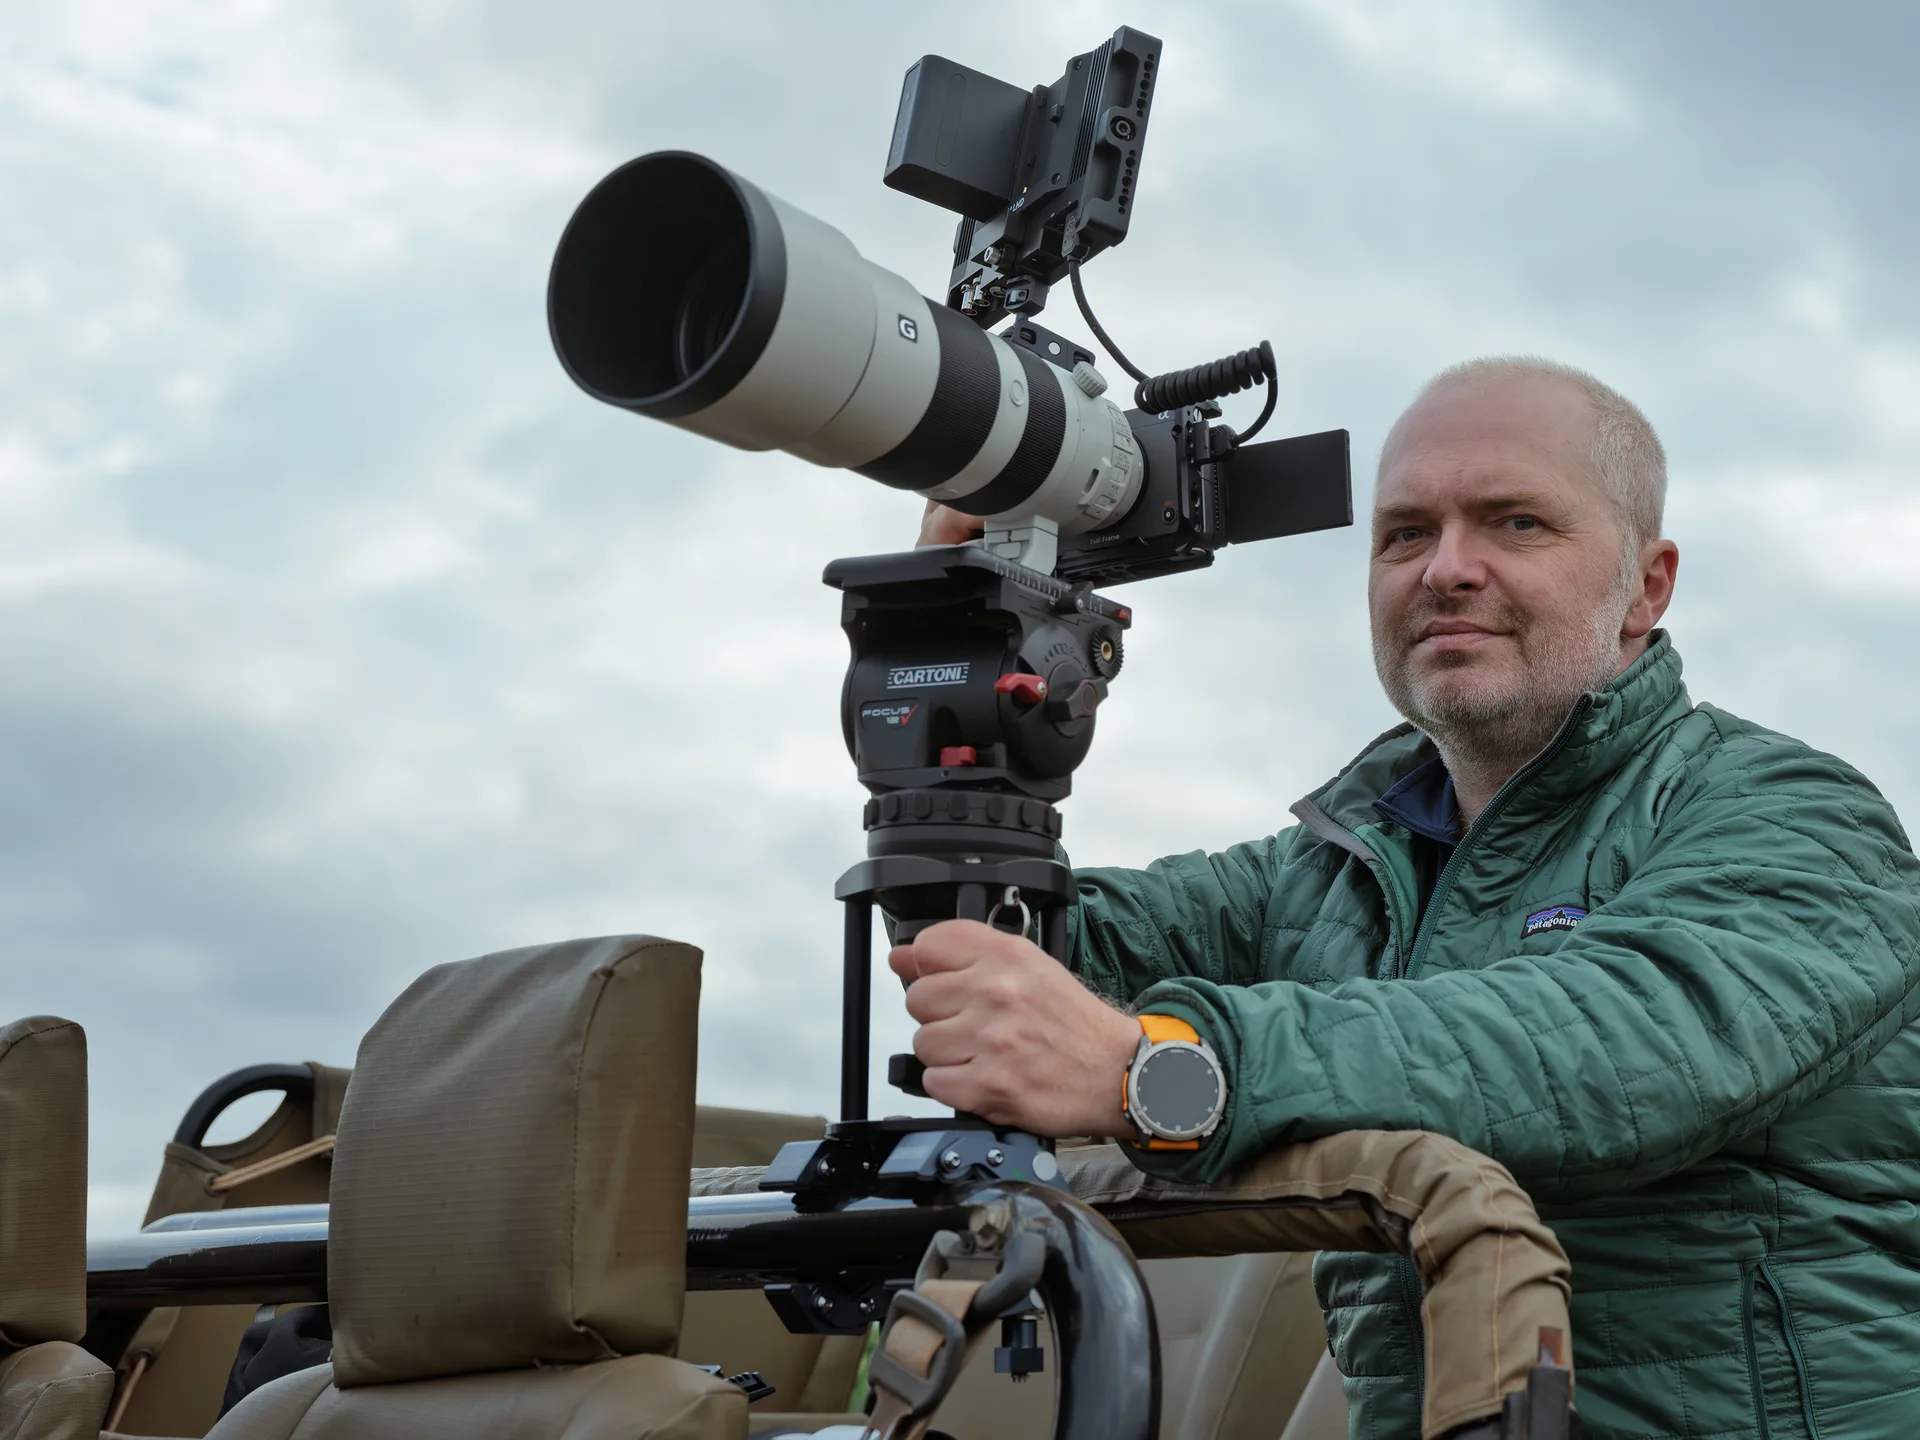
ProRes RAW has transformed filmmaking by delivering 12-bit, non-debayered imagery to a wide range of cameras, from consumer models to professional rigs. With support now in over 70 cameras via Atomos recorders, it’s a big deal for creators. This is Part one of two on ProRes RAW, exploring its backstory, industry impact, and practical tips for capturing the best footage in the field. In Part 2, we’ll get into editing and grading ProRes RAW in DaVinci Resolve 20.2.
The Bigger Picture: Why This Matters
The Backstory: Politics and a Curious Coincidence
ProRes RAW, introduced by Apple in 2018, captures unprocessed Bayer RGB sensor data in a compressed container, offering unmatched flexibility for color grading. Its adoption, however, has been shaped by industry politics, particularly the RED patent on compressed RAW video. This patent restricts true RAW recording to external devices like Atomos recorders, which enable ProRes RAW capture over HDMI, bypassing internal camera processing limitations.
For years, Blackmagic Design resisted supporting ProRes RAW in DaVinci Resolve, likely due to competition with Atomos. Blackmagic’s proprietary Blackmagic RAW (BRAW) and its own field recorders created a rivalry, often referred to as “beef” in industry circles, as Atomos championed ProRes RAW. This forced Resolve users to convert ProRes RAW to formats like CinemaDNG for editing.
Personal Note: I had almost given up on ProRes RAW entirely. The extra step of transcoding to CinemaDNG just wasn’t worth the hassle for my workflow, especially since I prefer using my SmallHD Cine7 as my default monitor. My Atomos Ninja V+ was collecting dust as a result. But with DaVinci Resolve 20.2 now supporting ProRes RAW natively, I’m rethinking everything. Should I dust off the Ninja V+ and return to ProRes RAW? This update has me excited to reconsider its potential for my projects.
The plot thickens with a striking coincidence. On September 9, 2025, Apple announced the iPhone 17 Pro, the first smartphone with native ProRes RAW support. That same day, Blackmagic released DaVinci Resolve 20.2, introducing ProRes RAW decoding. Is this pure chance, or did Apple’s push into mobile RAW video prompt Blackmagic to bridge the gap with Atomos? Some speculate that market pressure from Apple’s move, combined with growing demand, sparked a strategic shift, possibly involving behind-the-scenes collaboration to strengthen the ProRes RAW ecosystem. While no concrete evidence confirms such deals, the synchronized timing raises intriguing questions.
The RED patent adds another layer. Nikon’s 2024 acquisition of RED has fueled speculation about relaxed enforcement, as Nikon previously challenged the patent’s validity. While internal ProRes RAW recording remains rare, external solutions are thriving.
The Great Equalizer
ProRes RAW’s impact is profound. From 30 supported cameras a few years ago, it now spans over 70, mostly consumer models, thanks to Atomos. This puts 12-bit RAW within reach for indie filmmakers, with professional-grade imagery that overcomes internal camera limitations. With support in major NLEs (Resolve, Premiere Pro, and Final Cut Pro), ProRes RAW is poised to become a standard, shifting focus from codec debates to hardware innovation and creative storytelling.
Practical Tips for Shooting ProRes RAW in the Field
Drawing from years of on-set experience, here are my top tips for capturing ProRes RAW footage that maximizes its potential:
- Monitor in Log or with a LUT: When shooting ProRes RAW, monitor in the native log profile (e.g., ProRes RAW Log) on your Atomos Ninja V+ or your prefered recorder to assess the full dynamic range, using tools like false color or zebras for precise exposure control. For a user-friendly preview, apply a Rec. 709 LUT to approximate the final look, ensuring colors and contrast align with post-production expectations. This dual approach balances technical accuracy with creative visualization.
- Protect Your Highlights: ProRes RAW excels at recovering shadow detail but can’t salvage clipped highlights. Use false color or zebras to keep highlights just below clipping, unless you’re intentionally letting a light source, like a lamp, blow out for artistic effect. Preserving detail in skin tones or backgrounds is critical for clean grading later.
These techniques, honed over years of fieldwork, ensure your footage is primed for DaVinci Resolve 20.2, as we’ll explore in Part 2. Whether you’re shooting on an iPhone 17 Pro or a cinema camera with an Atomos recorder, ProRes RAW unlocks serious creative control. Stay tuned for our post-production guide!