Craft
False Color for Wildlife Filmmakers
There was a stretch of time when I kept coming back from shoots with footage that looked well-exposed in the field, but underexposed when I brought it into DaVinci Resolve.
I was frustrated. I double-checked zebras, histograms, waveform; I thought I was doing it right. But it still looked murky and flat. I had seen the false color option on my external monitor, and was intrigued to use it. One day I just sat down and watched YouTube videos on how exposure works on cinema cameras.
That’s when I learned the power of False Color, and how to properly use Base ISO and Cine EI (Exposure Index) on a Sony Cinema camera, but that's for a separate post.
Why False Color?
False color is no gimmick or “advanced feature”; it’s the most precise way to evaluate exposure in real time. Unlike histograms, it shows you exactly what parts of your image fall into what exposure zones, across the entire frame.
It’s a live, color-coded map of your highlights, midtones, and shadows, based on real IRE values, not guesses.
And in wildlife filmmaking, where you often only get one chance at the moment, that kind of precision makes all the difference.
How It Works (Fast Version)
Each color represents a specific brightness range, measured in IRE. For example:
- Green = midtones (often neutral exposure)
- Pink = skin tones or mid-highlights
- Yellow = bright highlights just below clipping
- Red = blown out
- Blue = deep shadows
- Purple = crushed blacks (no recoverable detail)
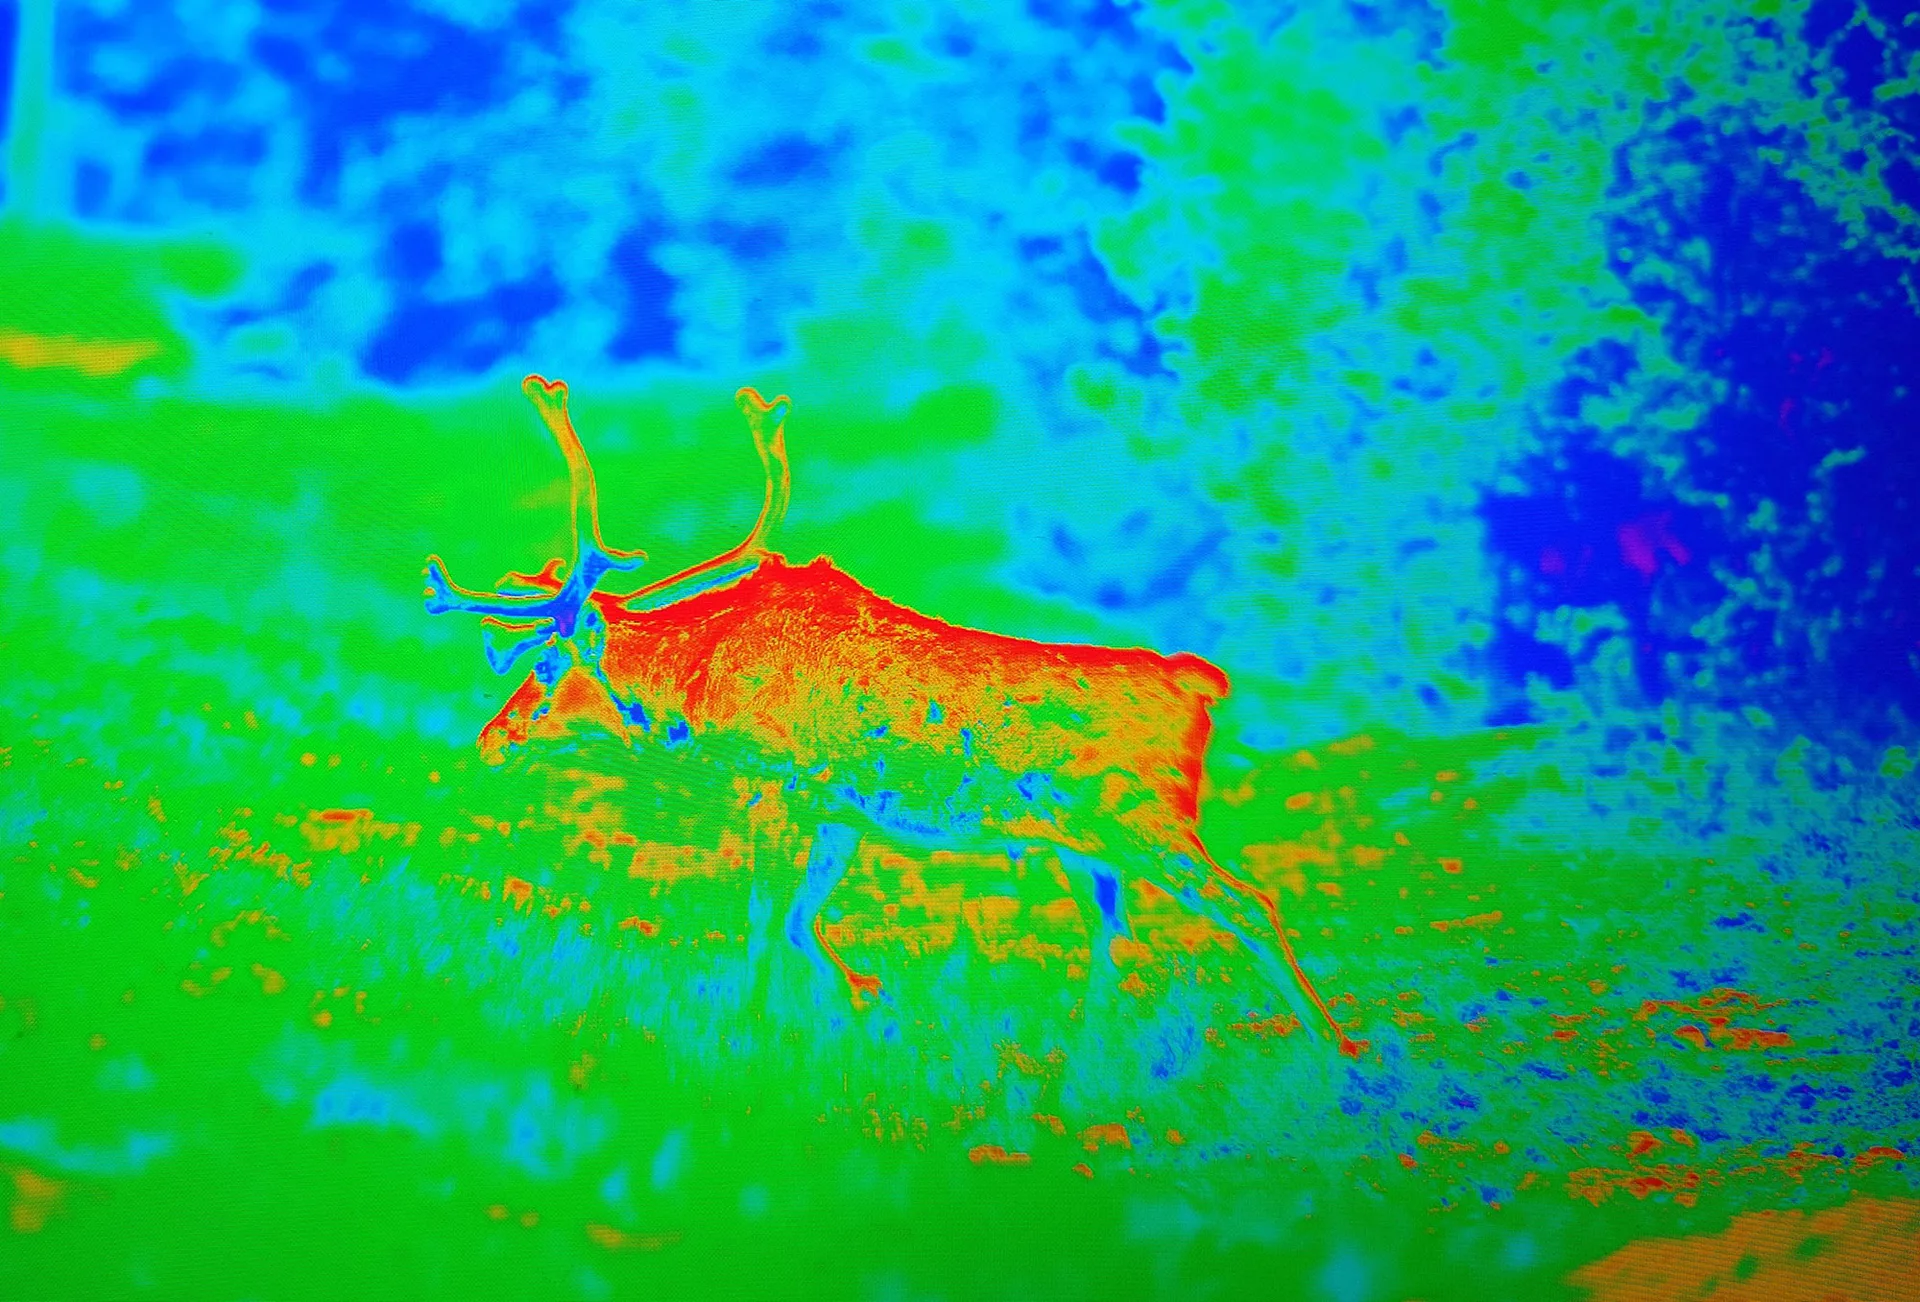
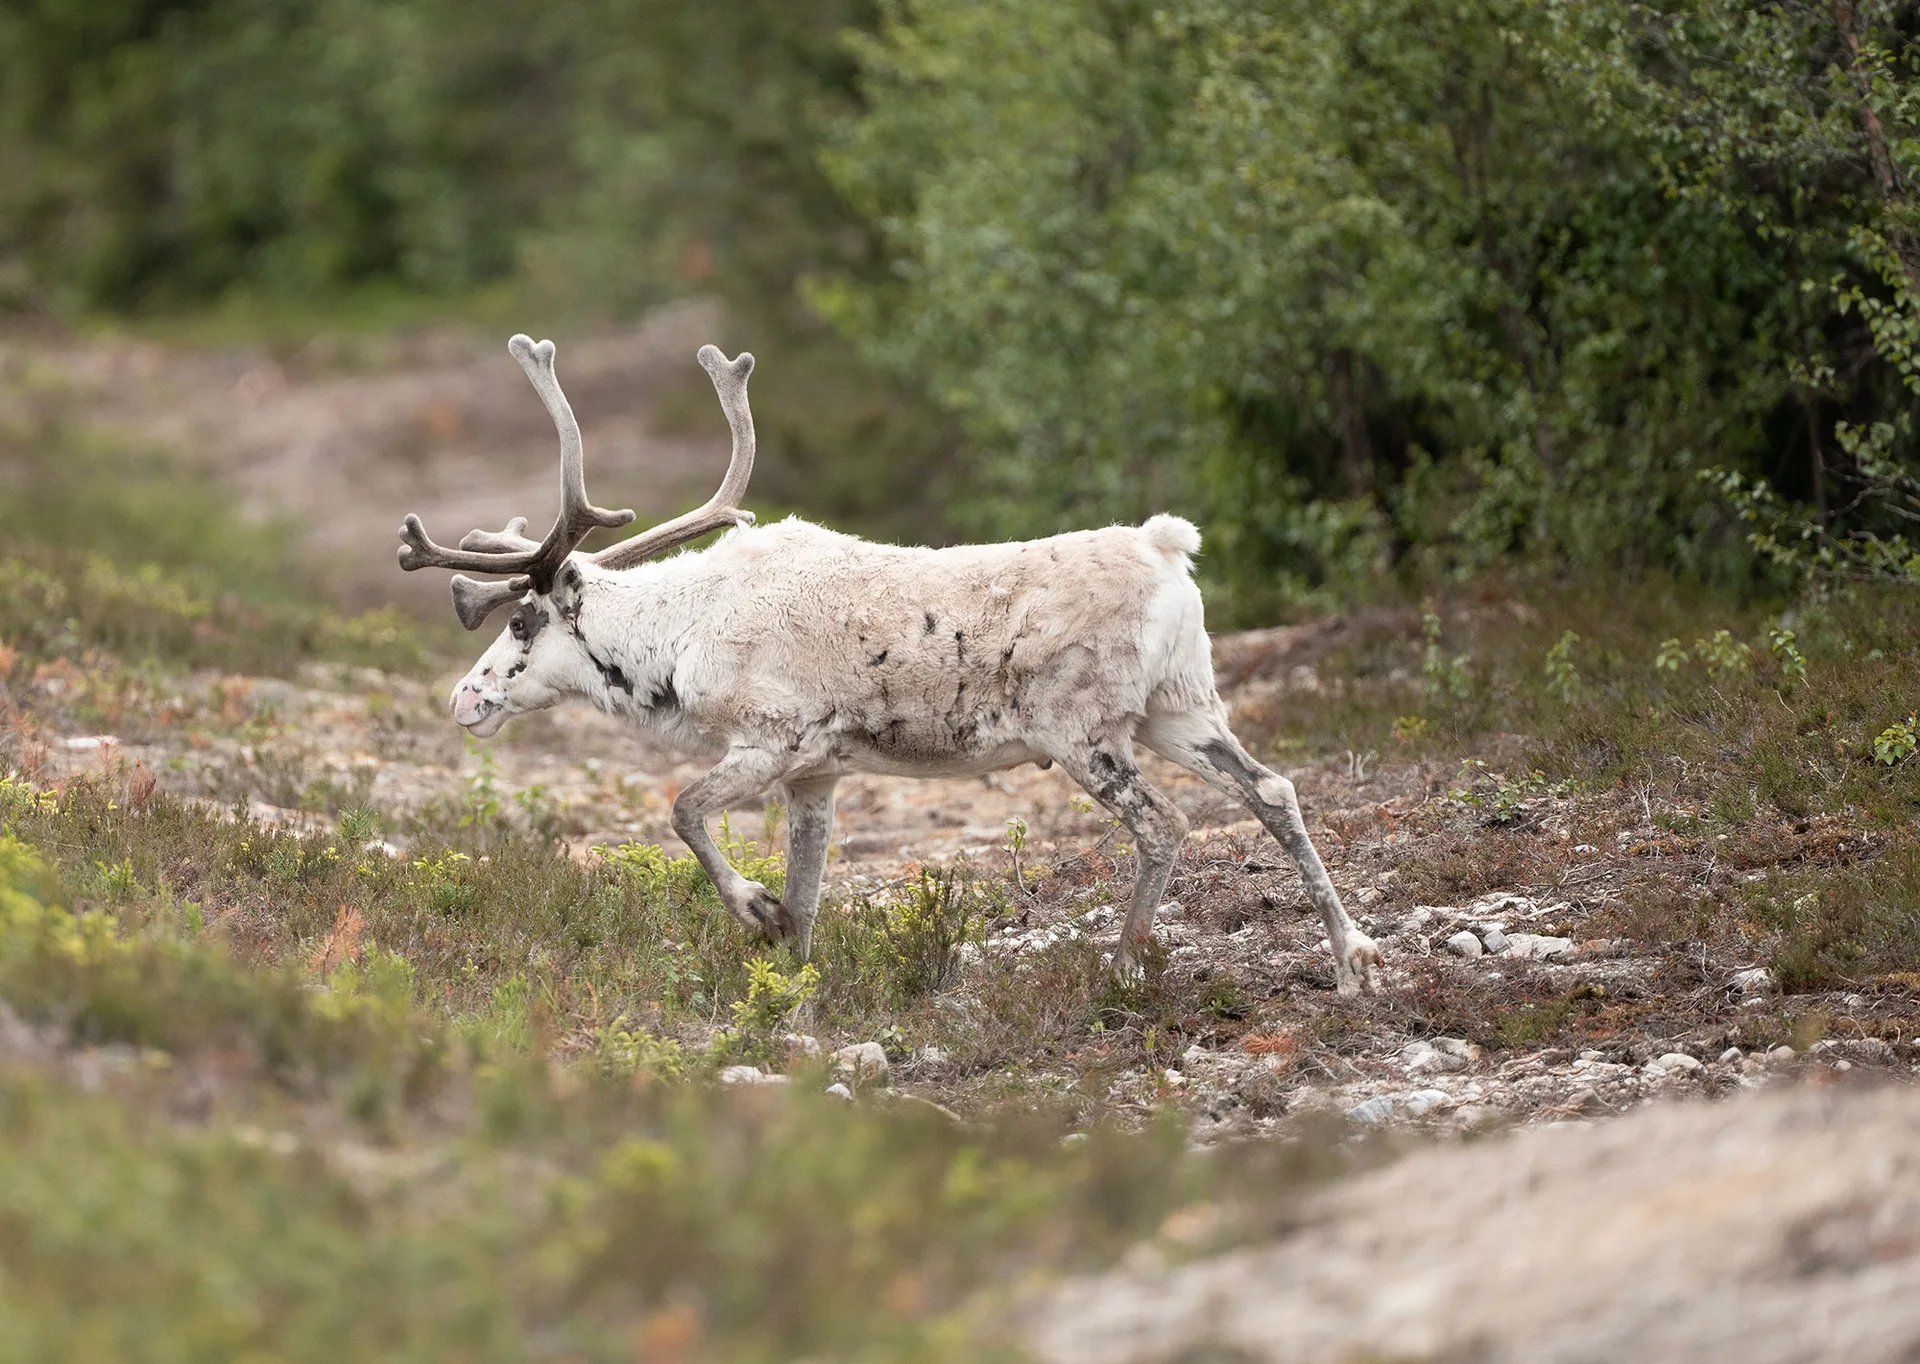
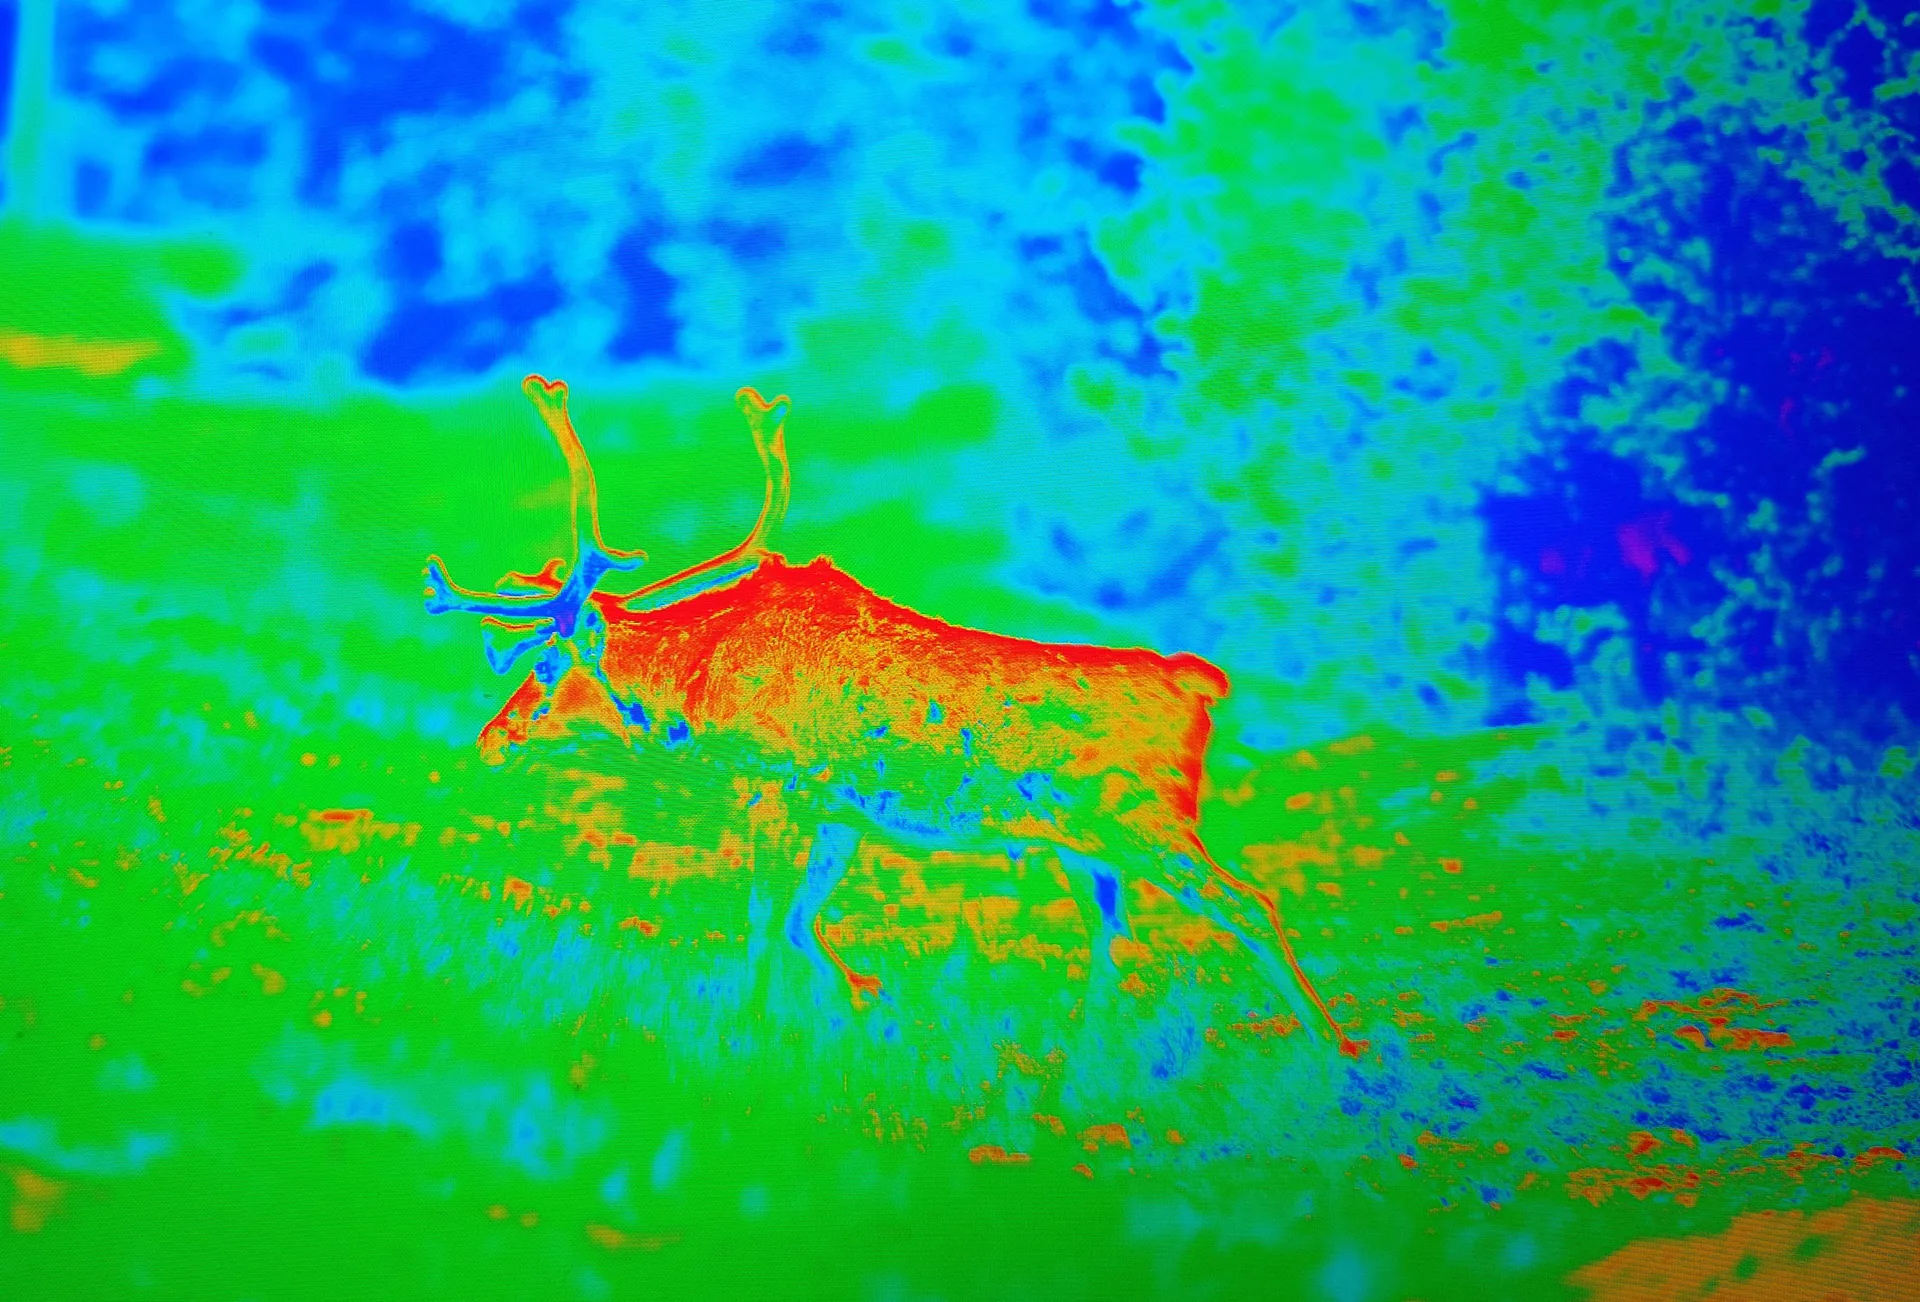
The image above was from my recent trip to Northern Sweden. Captured mid-day under harsh sun. The fur is blowing out, hence the red seen in false color
Most monitors have their own false color LUTs (SmallHD, Atomos, Portkeys, etc.), but the idea is the same: map brightness to color so your brain can quickly spot problems.
For S-Log3 on Sony cameras, aim for green around 41 IRE (middle grey) and pink ~55-60 IRE (skin tones or subject highlights).
IRE Targets Table
S-Log3 IRE Targets for Exposure
Use these as a guide when combining False Color with waveforms or zebras in log shooting:
ElementIRE ValueFalse Color Tip
Crushed Blacks
<32%
Purple: avoid for detail
Deep Shadows
32-38%
Blue: okay for backgrounds
Middle Grey
41%
Green: neutral exposure
Skin Tones/Highlights
55-60%
Pink: ideal for subjects
Bright Highlights
80-94%
Yellow: warning, near clip
Clipped
>94%
Red: blown out, no recovery
What I Look For
When I’m out shooting:
- I want the main subject (feathers, fur, etc.) to sit mostly in green/pink, depending on lighting ( In my example above, the animal had white fur, which appeared yellow and even going into red in places due to the harsh sunlight.
- Backgrounds can fall off , but I watch for deep purple that signals lost shadow detail
- I check for small red patches, which could mean sunlit feathers or reflections are clipping
It’s fast. It’s intuitive once you train your eyes. And it helps me trust what I’m seeing, even under harsh mid-day light or deep forest shade.
False Color vs. Zebras or Histograms
Zebras are useful, but limited to narrow IRE bands. Histograms give no spatial info. Waveforms are powerful, but harder to read quickly in the field. I mostly use Waveforms when I'm editing the footage in Davinci Resolve
False color wins because it’s visual and spatial; it tells me exactly what part of the frame is too hot, too dark, or just right. For solo shooting in unpredictable environments, nothing beats it.
Why This Matters for Wildlife Shooters
- Fast-moving subjects: You don’t have time to analyze waveforms
- Unpredictable lighting: Shadows, clouds, high-contrast scenes
False color turns your monitor into an exposure coach. It’s like having a second pair of eyes that never blink.
If you’re serious about cinematic wildlife work, and especially if you’re using a camera with Cine EI, get fluent in false color. It’s the tool that finally made exposure click for me, and it might do the same for you.